

I looked at several tutorials before starting this project and took what made sense to me. Some of the tutorials I looked at said to use 2 1/2 yards of fabric but I bought 3 yards just in case. I spent the better part of the 90s encased in plaid flannel, I'm sure I can find a use for the excess!
Rather than using a pattern, I took a pair of pajama pants that fit well and started with those. I folded them in half (so the butt is out), pulled the crotch seam all the way out, and used that as my pattern. I folded my flannel fabric in half lengthwise and placed my existing pants with the straight edge (as in not the butt side) along the fold. I added 1/2" for my seam allowance and cut around. I added an inch or so more at the waist and the bottom to account for the channel for the elastic and the folded hem. If you do this using elastic waist pants as your pattern pants, be sure to pull the waist out taut so that you get the right fit.

I then took the piece I cut (still folded) and used that as a pattern to cut another piece from my still folded fabric. This gives you a front and a back exactly the same size. I made sure to match up the pattern when cutting the second piece.
Some of the tutorials I read suggested serging both leg inseams first and then stuffing one "leg" inside the other before sewing the crotch, but I really am nitpicky about matching up patterns, so I decided to sew it together using what I call the "chaps" approach. This way I could match up my plaid so I don't look like I'm wearing two different mismatched legs.
I unfolded both pieces and matched them up. My fabric didn't have a right side and a wrong side, so if you do this with fabric that does have a right/wrong side, you'll place them right sides together.

I sewed the crotch first (ok I'm saying "crotch" a lot here, but I'm just calling it what it is). In the picture above, the crotch is on the outside edges (the scoopy parts that flare out). I started at the waist and went down to the tip of the scoop, stopping at what becomes the inseam.
Then I serged the bottom of each leg (which hasn't been sewn closed) and the waist to finish the seams. At this point, they look like chaps.

Next, I serged the inseam. I started at one leg end and went straight through the crotch and down the other side. When you sew it, it's basically one straight line, as if the pants are a gymnast doing a perfect center split.

Then, I put the pants on, still inside out, to determine the right length. It should be noted here that I had to think skinny thoughts to get into these because I don't think I stretched the elastic waist on my pattern pants out enough before cutting, and I'm apparently a little more hippy than I estimated.
With my regular sewing machine, I turned in the hem on each leg (pants still wrong side out) and ran two lines of stitches...one to secure down the raw edge and another closer to the finished edge because I felt that was the way to go. I forgot to take a picture.
Next up is the waist. I used 1" elastic, so I turned the raw edge down about 1 1/2" (should have gone just a smidge more), and sewed right along the edge of my serged stitches, leaving about a 3" gap (across one of the center seams) between where I stopped and started so I could insert the elastic.

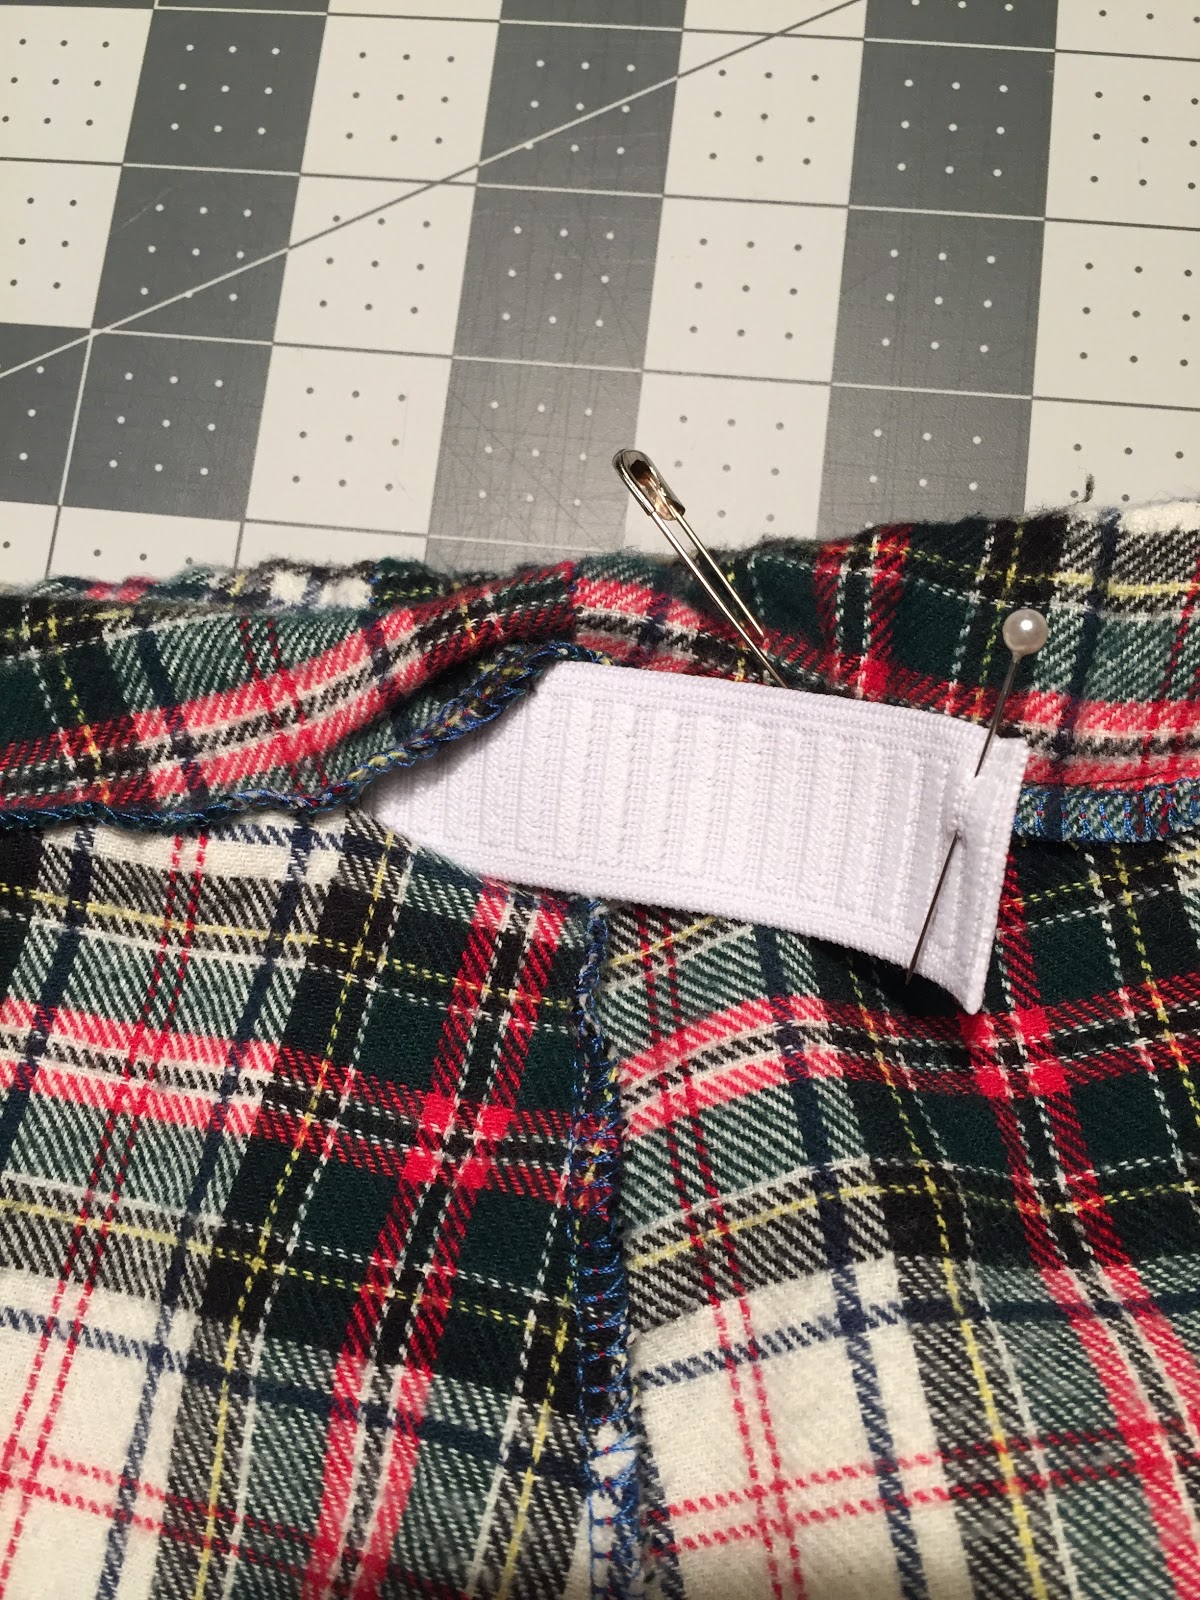
Using a safety pin, I fed the elastic through one side of the gap, all the way around and out the other side.

Before closing these up, I put the pants back on to make sure I had it right. I used the safety pin to secure one end of the elastic to the pants and left the long side dangling. I put a pin to mark where I thought I should cut the elastic, leaving room for a 1" overlap where I would sew the elastic together.
Next, I overlapped the elastic by 1" and used a tight zig zag stitch along both raw ends and then x-marked-the-spot for extra security.

Lastly, I stuffed the elastic into the waistband gap and stitched the gap closed, making sure not to catch the elastic in my stitches. I also backstitched at both ends to ensure it stays closed.
Turn them right side out and you've got yourself a pair of comfy PJ pants! A lot easier than I thought it would be! And yes, I did sit down in them and they held!

