

Features
Magnetic Snap Closure
Inside Zipper Pocket
Adjustable Strap
Materials
Outer bag fabric (1): 15" x 25"
Liner fabric* (1): 15 x 25"
Strap (1): 5" x 40" (adjust length as you see fit)
Bag Bottom* (1): 15" x 10"
Zipper pocket (2): 7.5" x 12"
Zipper (1): 9"
Ring Tabs (2): 3" x 4" (or 1 3" x 8" piece, cut in half later)
D Rings (2): 1.25"
Clasps (2): 1.25"
Slider (1): 1.25"
Zipper foot
*I like to use cotton duck for the lining and the bottom because it gives the bag structure and stability.
Also sorry for the pictures, I am no photographer and the bag I made was black on black so some things are hard to see. Next time I'll use more contrasting colors!
Also sorry for the pictures, I am no photographer and the bag I made was black on black so some things are hard to see. Next time I'll use more contrasting colors!
Sew the Strap
I get this out of the way because it's easy. Fold your 5" x 40" strap in half and press. Unfold and then fold the outsides in again and press.
Topstitch at 1/4" along the open side to close the strap. Topstitch again down the closed side at 1/4" (for another design element, topstitch again down the center).
Feed one end into the slider, up and over the middle piece. Fold under 1/2" of the end (to hide the raw edges) and back onto the main strap to secure the slider. I make an "x" shaped box to reinforce it, about 1.5" from the slider.


Feed one of the clasps onto the raw edge of the strap. Loop the strap back through the slider (under and over the middle piece). Now you should have your slider in the middle and a clasp looped on one end.


Finally, feed the other clasp onto the raw edge of the strap. Fold under 1/2" of the end (to hide the raw edges) and back onto the main strap to secure the slider. Finish with an "x" shaped box to reinforce it.


Here's what your finished adjustable strap should look like. Check it off the list and set that aside.

Create the Zipper Pocket
Take your lining piece (right side up) and measure 3" down from the edge and place one piece of your pocket fabric right side down on top. Ensure it's centered.
Measure 1.5" down from the edge of the pocket fabric and draw a line. I use one of those clear rulers to make this easier!
Measure 1/2" down from that line and draw another line. Draw lines to close the rectangle.


Draw a line down the center and triangles to the corners - this will be your cutting template to open the zipper hole.
Stitch along the outside of the rectangle to secure the pocket fabric to the liner.
Cut a small hole in the center line (enough to get your shears in there) and cut down the line and the triangles into the corners - clip it close but do NOT cut the stitches.
Feed the pocket fabric through the hole and finger press the fabric open along the stitches. Press with an iron.


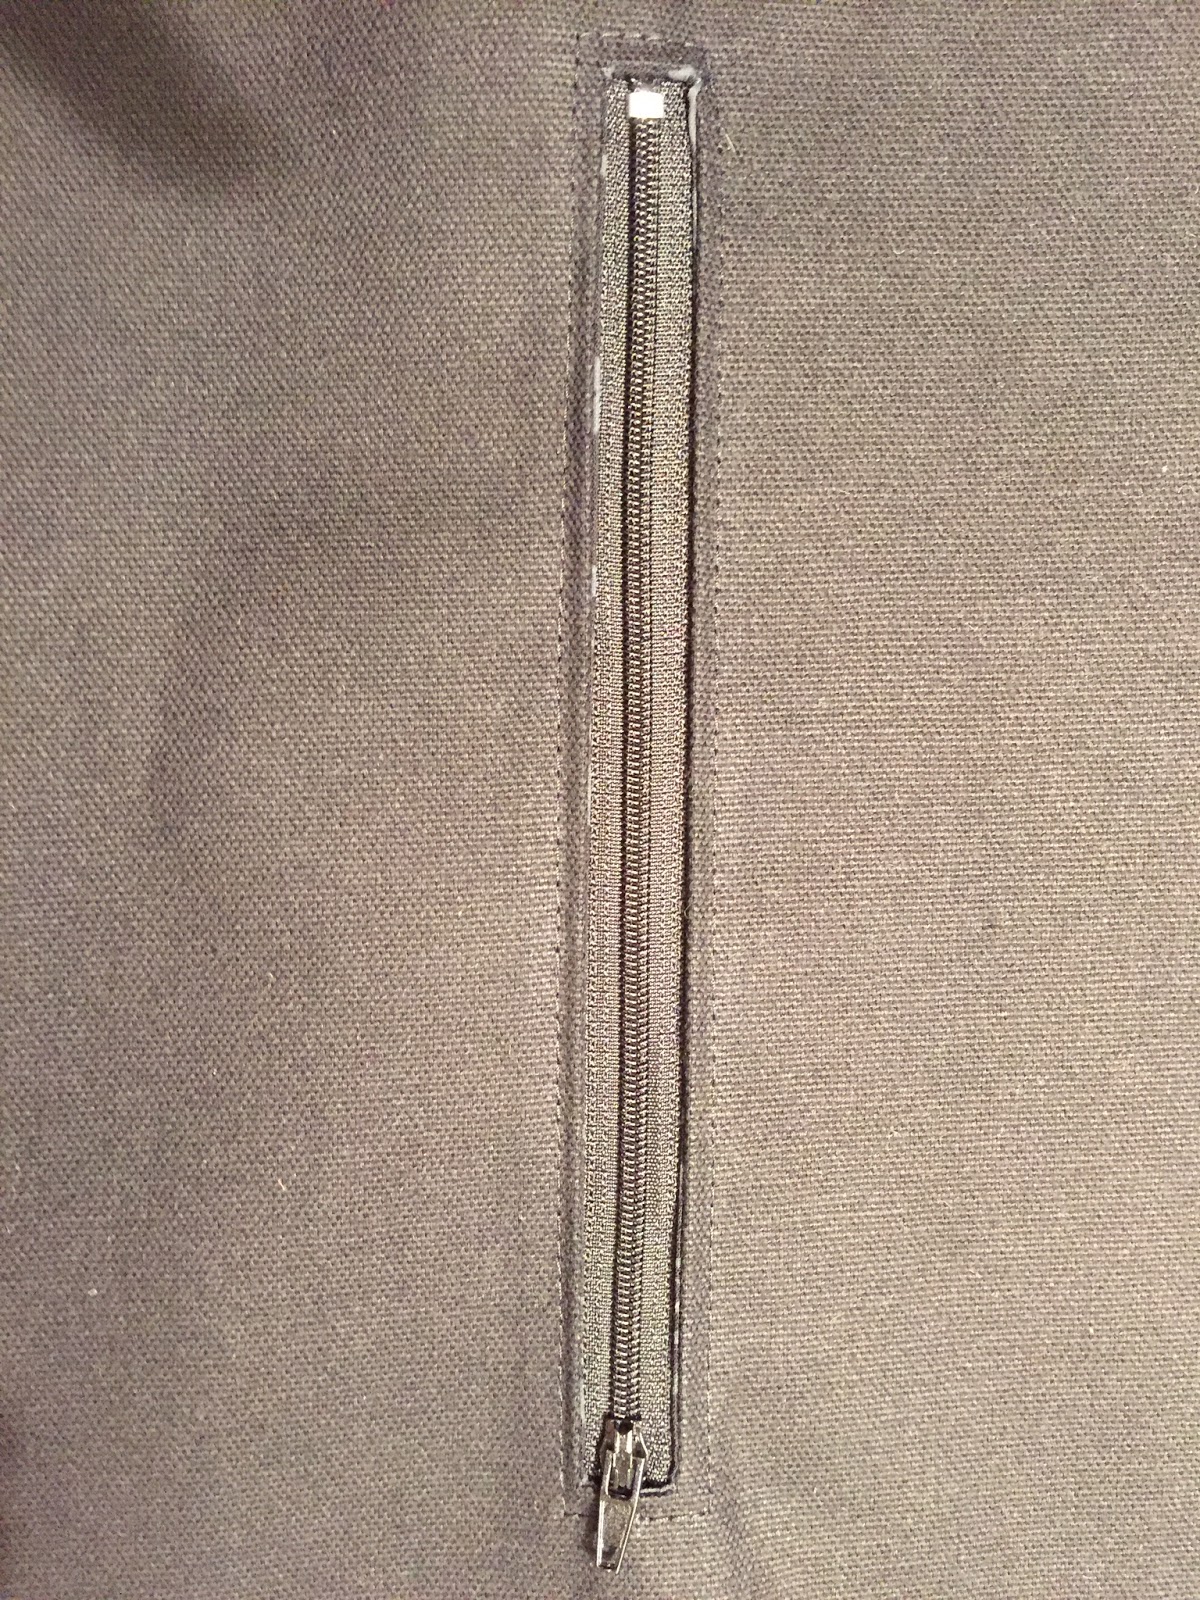
Place your liner fabric face up and lay your zipper under the window you created. Line up the zipper where you want it. I use a little bit of basting tape (double sided tape) rather than pinning because I find that pins make the zipper go all puckered. Plus, the tape is easy to reposition and adjust as needed.


Back to the sewing machine and attach the zipper foot. Make sure the zipper pull is somewhere inside the zip window (if it's not, and you stitch it closed, that zipper is useless!). Top stitch close to the seam to attach the zipper to the liner.
For a nice finish, I only backstitch once and then flip it over and pull a stitch through to the "wrong side" and tie off the ends with a few knots.

To close the pocket, flip your liner assembly over (wrong side up) and lay the other pocket piece right side down over the piece. Sew around the edges at 1/4" - be sure you get the liner body out of the way, otherwise you'll stitch the pocket onto the lining (lesson learned).
To close the pocket, flip your liner assembly over (wrong side up) and lay the other pocket piece right side down over the piece. Sew around the edges at 1/4" - be sure you get the liner body out of the way, otherwise you'll stitch the pocket onto the lining (lesson learned).
Sew the Lining Body Closed
Fold the lining right sides together in half. Sew down one side, across the bottom, and up the other side. Leave the top open. and set it aside. We'll box those corners later.
Add Magnetic Snaps
Measure where you want your snap to go - I went 2" below the top edge. Use the washer from the snap to mark the prong holes. Use a seam ripper to gently poke through BOTH sides (you're creating the holes for both snaps at once - this way they're lined up perfectly!) and make small openings for the prongs.
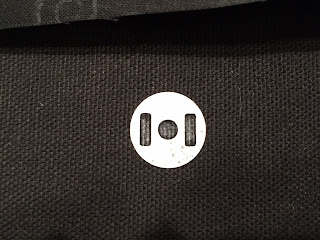

I used a few scraps of interfacing and sewed them (3 layers) to add stability. Feed the snap through the holes of one side (from the right side out). Press the prongs in place and repeat for the other side. I also add a little fray check in there just in case.

Attach Bag Bottom
Fold the long edges of the bag bottom 1/2" to hide the raw edges. Press with an iron.
Lay the bottom piece on top of the outer fabric piece (with right side up) and ensure your edges are lined up. Mine measured 8" from the top of the outer to the top of each bottom edge. Pin in place.


Before sewing, fold the outer piece right sides together and make sure the bottom lines up on both sides. If it doesn't match up, adjust accordingly. This will ensure the bottom is nice and clean when the bag is sewn closed. Otherwise they could get off-kilter and look wonky.
At this point I also added some fusible fleece to the wrong side of the outer piece. This is optional and you can choose depending on the weight of the material you're using for the outer piece. If you're using outdoor fabric, then this shouldn't be necessary, but I used regular quilting fabric and it needed a little oomph.
At this point I also added some fusible fleece to the wrong side of the outer piece. This is optional and you can choose depending on the weight of the material you're using for the outer piece. If you're using outdoor fabric, then this shouldn't be necessary, but I used regular quilting fabric and it needed a little oomph.
Unfold the bag and take it to the machine to topstitch the bottom onto the outer piece. I use two rows of stitches - first line is 1/8" from the edge of the bottom piece and the second line is 1/4" from the first line. Repeat for the opposite side.
Sew Outer Bag Closed
Fold the outer piece in half, right sides together. Sew down one side, across the bottom, and up the other side. Leave the top open.
Box the Corners
On both the outer and lining pieces, let's box those corners. I sewed at 1.5" from the corner to create a 3" box. I secured with a zigzag stitch and cut off the excess.
Create Ring Tabs
I used a 3" x 8" piece of fabric that matches the outer fabric. You can also use belting or webbing, up to you.
Fold in half (the long way, right sides together) and press with the iron. Sew a 1/4" seam along the edge. Turn inside out. Cut in half to create two 4" pieces.
Feed one end through the a D Ring. Sew across the bottom to hold it together. Repeat for the other D Ring.


Assemble the Bag
Take your outer bag and make sure it's turned right side in (inside out). Take the lining and turn it right side out (also inside out). Stuff the lining into the outer bag and pin together. Make sure to match up the seams at each side. (Note in the photo, I've pulled the liner out so you can see how to stuff it in there, but you'll push it all the way down and match up the edges of the liner and outer before sewing it closed!)


At each side seam, insert the D Ring tabs, upside down (meaning the D Ring facing down) between the lining and outer fabric.
Sew at 1/4" around the top, leaving open about a 3-4" gap for turning. At the straps, I go back over the stitch a couple times for strength.
This is my favorite part -- turn that sucker out! Fold in the open gap and pin in place. Hit it with the iron to press the seams and get rid of the wrinkles you created by turning it.
Topstitch again around the top at 1/8" (or 1/4") which will close the gap used for turning.
Clip on that strap and you're ready to roll!

