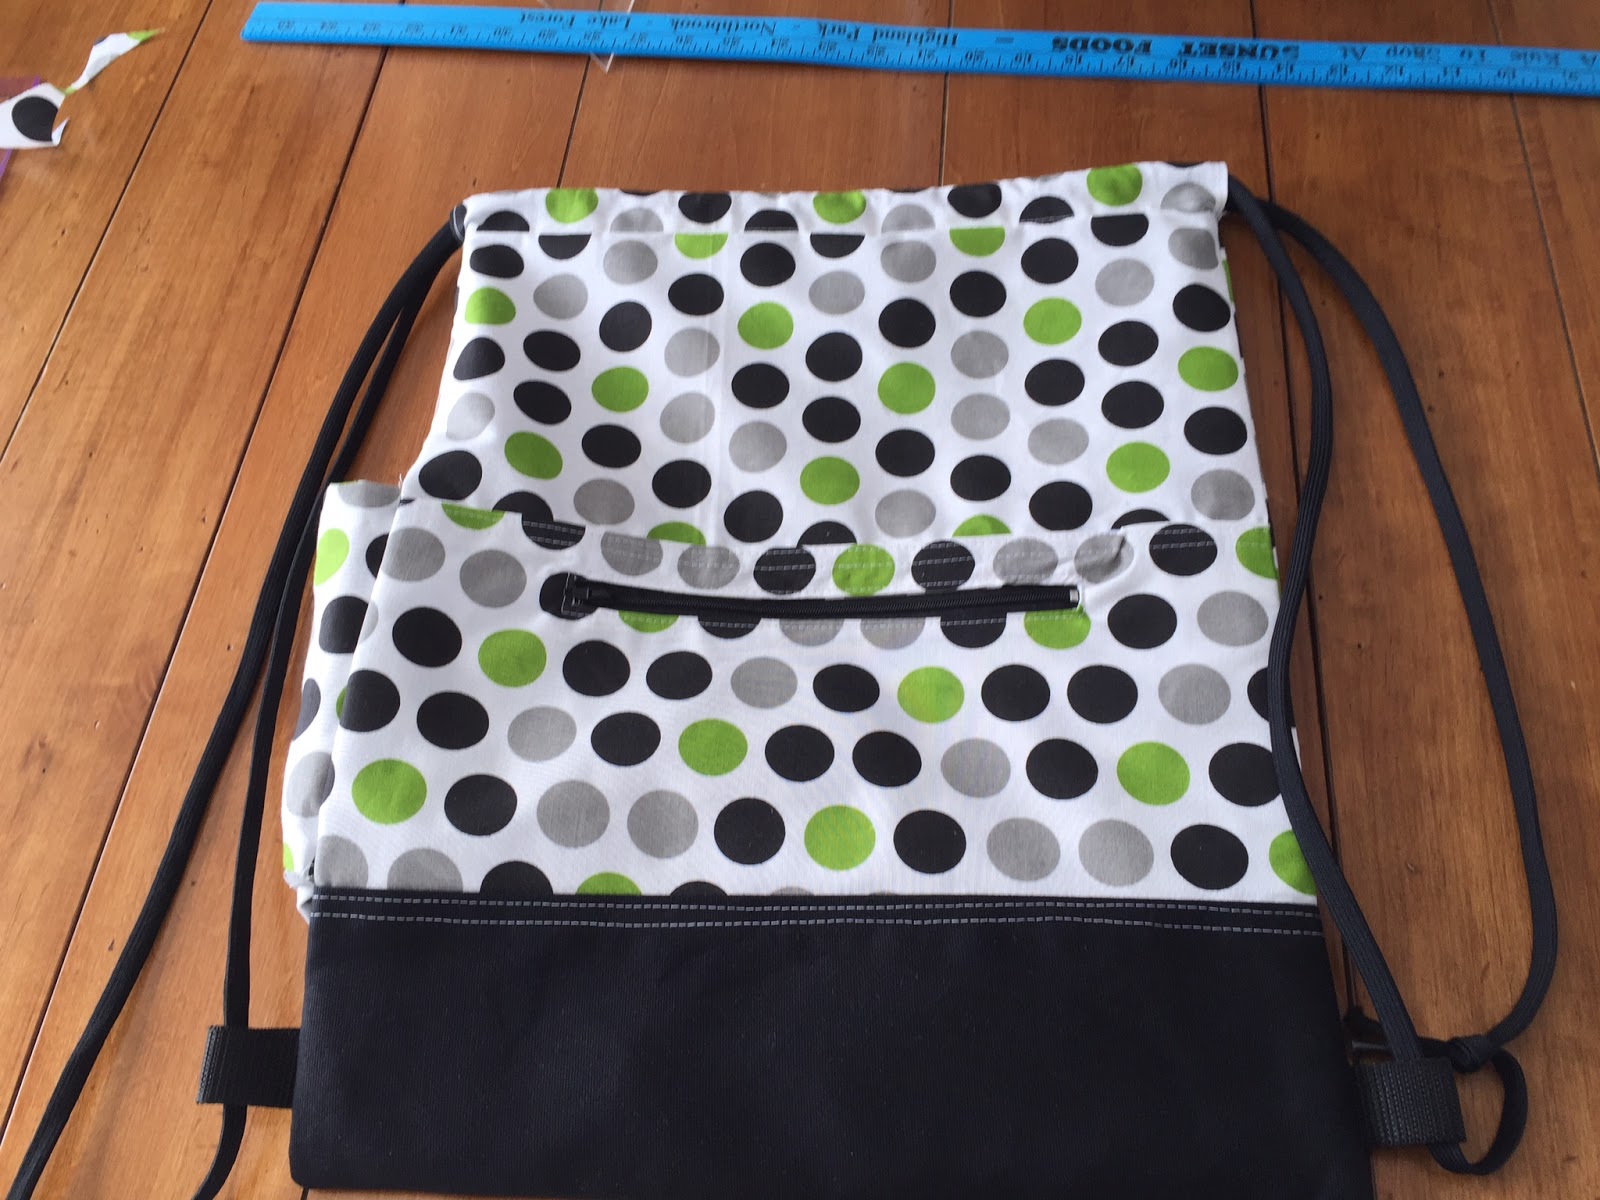
These are super easy to make and I've put my own spin on the various patterns I've found on other blogs online.
Materials
Outer Body (1): 40" x 15"
Liner (1): 36" x 15"
Note: I fold these in half rather than cutting separate pieces - if you prefer to cut, then go for it.
Bag Bottom (1): 10" x 15" (use something strong like cotton duck or outdoor fabric)
Pocket Piece (1 or 2, depending on if you want it to be lined): 9" x 15"
Zipper (1): 9" or longer
Cording (straps) (2): 2 yds each
Safety Pin
Nylon webbing or belting (2): 4" x 1"
Fusible fleece or desired interfacing, if you like
I wound up adding a water bottle pocket to this one, which was my first foray into sewing circular objects. I took a water bottle and rolled fabric around it, leaving about an inch overlap on each side (2 pieces). I used another circular object to trace circular cuts of the same fabric (2 pieces). Measurements will depend on what size water bottle you want to accommodate.
Drawstring Channel Construction
Take your outer body piece and on the short sides (which will be the top of the bag), draw lines at 1" and 3" from the edge. The first 1" line will create a 1/2" hem by folding over and stitching over it. The second line (at 3") will create a pocket for the drawstring to pull through.
Then draw lines at 1/2" along the sides as shown. Clip the little 1/2" line on the 3" line (where the pen is pointing). This will allow you to fold in the fabric to hide the raw edge.


Fold those little tabs in so you have a 1/4" fold. Press with an iron and stitch it closed.


Next, fold (and press) to the 1" line and again to the 3" line. I pin these and then stitch at 1/8" to hold in place. Image below shows the first fold. Pay no attention to the numbers on the cutting board, they are irrelevant.


Set the outer body aside.
Zipper Pocket Construction
You can use 2 pieces here or just one. I used 2 pieces to "line" the pocket and add a little thickness.
On the wrong side of the pocket fabric, draw a line 1" from the top (this will be folded over to create a 1/2" hem).
Draw a line 1/2" from the hem line. Draw another line 1/2" below that (this will be the zipper window). I centered mine at about 3" in from each edge. I always draw a line down the center with triangles into the corners for when I cut.


If you're using two pieces, place them right sides together and pin. Stitch around the outside of the rectangle.
Cut into the center line (through both pieces) and snip close into the corners but be careful not to cut the stitches. Feed one side through the window and press everything open.
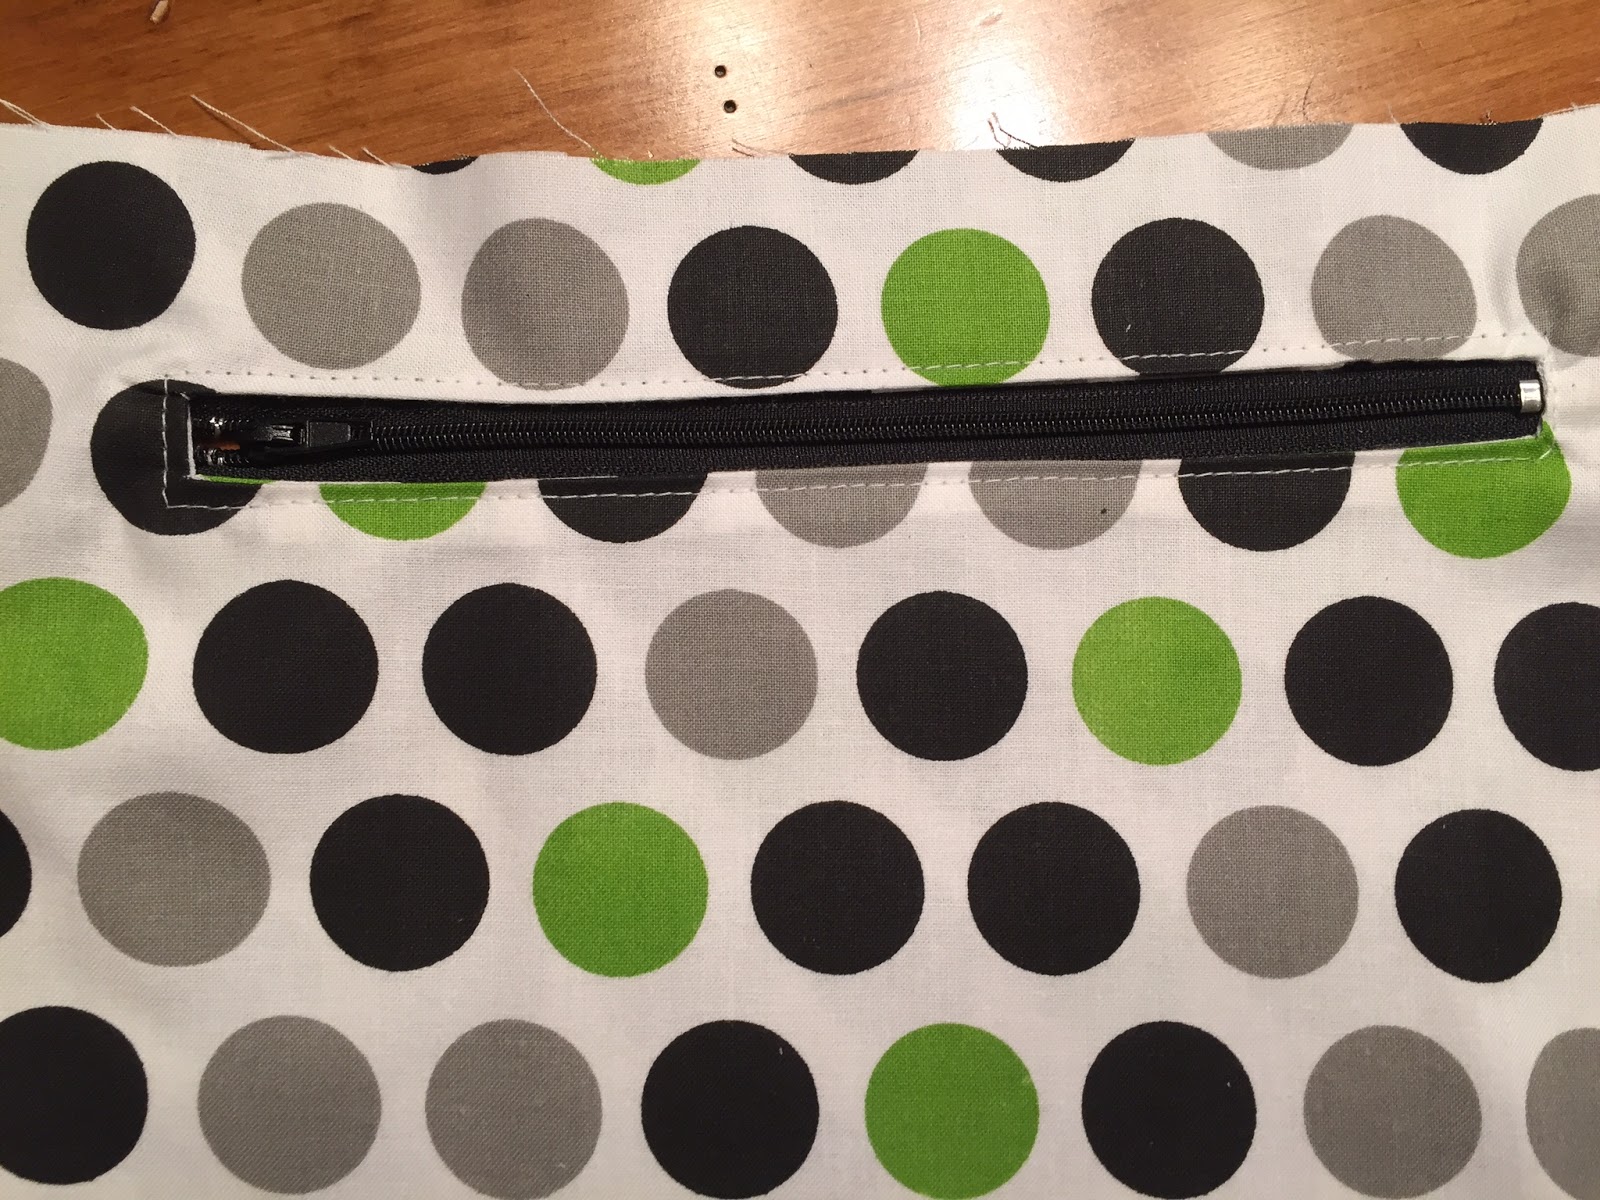
Place your zipper right side up and lay your pocket piece on top of it, centering the zipper as needed. I use double-sided basting tape to hold the zipper in place instead of pins.


Topstitch around the zipper to secure it (use a zipper foot).
Attach Bottom and Pocket to Outer Body
Grab your bag bottom piece and draw 1" lines on the "wrong side" to create a 1/2" hem by folding it over and pressing with an iron.


Lay your outer body piece face up and place the bottom piece on top, centering and lining up the edges. Pin in place.
Take the pocket piece and lay it out on top of the outer and stuffing the bottom under the bottom piece - when you attach the bottom, that will create the bottom of the pocket, so make sure you leave enough room to catch those stitches. I like to put it at least 1/2" under the bottom hem. Line up edges and pin it in place.


Before moving forward, fold the outer body in half, right sides together, line up the top and pin. Check along the sides to make sure those bottom body hems line up properly. If not, adjust as needed.
Unpin the top and unfold it and bring it to the sewing machine.
Topstitch to secure the pocket to the outer body. I used two lines of stitches on this one - 1/8" from the hem and another 1/4" below that. I think.
Move down and secure the bottom to the outer body in the same fashion. Make sure that you catch the bottom of the pocket between the outer body and bag bottom. Set the outer bag assembly aside.
Liner
Fold the liner piece right sides together and sew closed one side. On the other side, be sure to leave a 4-5" gap which will be used to turn it all out at the end. Set the liner aside.
Drawstring Tabs
Take your 4" pieces of webbing or belting and fold in half and sew back and forth to secure. I also burn the ends (only works for nylon!) to melt the nylon closed. Don't do this if it's not nylon.
Close Outer Bag
Take the outer bag assembly and fold it in half, right sides together. Make sure the top and all edges are lined up nicely. Pin it.
Make a couple marks at 1" and 2" from the bottom - this is where the drawstring tabs will go.
Stuff the drawstring tabs into the 1" opening you marked near the bottom. The tabs go in "loop first" so your raw edge will stick out of the seam you're creating when you sew the bag shut.


NOTE: If you wind up adding a water bottle pocket, this works just like the drawstring tabs - stuff it in between the outer pieces and sandwich it in the seam you'll sew. Go over the seam a lot, zigzag the hell out of it to add strength.
Pin everything in place and take it to the machine. Sew up both sides, backstitching at both ends. DO NOT close those drawstring channels...close the bag only up to where the drawstring channel fold is. Otherwise, you won't be able to feed the drawstrings through, which is kinda the whole point.
When sewing over the drawstring tabs, I go over those a few times and zigzag them to add strength.
When sewing over the drawstring tabs, I go over those a few times and zigzag them to add strength.
Attach Lining to Outer Bag
Stick the liner into the outer (right sides together). Line up the side seams. Fold the drawstring channels in so that they are between the outer and the lining.
Pin it all in place and stitch it closed. I used a 1/8" line.

Turn that Mother Out
If you got that 90s callback, good for you. Reach in through the gap you left in the liner and pull it all through. With the liner pulled out, fold in the edge where that gap was and stitch it closed. I also press the outer at this point and make sure my corners are nice and sharp (poked out).
Then, stuff the liner inside the bag. You're almost done!
Add Drawstrings
Take one of your drawstrings and attach one end to a safety pin. If your drawstring frays, you might want to wrap the end in scotch tape so it doesn't unravel. Push the safety pin through one side of the drawstring channel, out the other and then continue back through the other channel. You wind up with it coming out on the same side.


Repeat, but start on the opposite side with the other drawstring.
Feed the drawstring through your drawstring tab and knot it together.