

I found this idea over on Fabric Mutt and made a few modifications.
Materials
Clear Vinyl (for ID card) (1): 2.5" x 3.5"
Outer Pieces (2): 3" x 6"
Lining Pieces (2): 3" x 6"
Card Pocket Pieces (3): 3" x 4"
Zipper (1): 7" or longer
Twill tape or something for key ring (optional)
Assemble Card Pockets
Starting with the ID card pocket, draw a 1/2" line from the top (short side) to create a 1/4" hem. Then, take a card (license, credit card, whatever) and trace around it to create the window cut out. I placed my card flush with the top of the fabric so it would peek out 1/4" after I create that hem along the top.

Next, I sewed a loose stitch around the box I had drawn. I used a loose stitch because I ultimately pulled these out. After stitching, I cut out the center piece, leaving 1/4" that will be folded back. Clip on the diagonal into the corners. Then, fold those back onto the wrong side along that stitch line and press. At this point, if you want to pull out those loose stitches, go for it.

Lay the vinyl piece on the wrong side and line it up, trimming if necessary. I placed my vinyl so that it would land right in the crease that I will use for the top hem at 1/4". I then topstitched the top hem and around the card window at 1/8" as shown:

Take the remaining 2 card pockets and fold the top over 1/4" to create a hem and topstitch across the top.
Starting with the outer main piece (one of the 3" x 6" pieces), lay the first pocket on top, lined up 1" from the top. This allows for a 1/4" seam allowance.
Take your card and lay it over to determine where to stitch the pocket to the outer main piece. I like my cards to peek out 1/4". Stitch along the line to create the bottom of the pocket.
Slip your card in the pocket and make sure it fits the way you want it. If not, adjust.
Take the second card piece and lay it 1/2" below the 1st pocket. Again, line up where you want to close the pocket using your card and stitch across.
Repeat the same with the ID card pocket. Make sure you're winding up close to the bottom of the main exterior piece, otherwise you won't catch the bottom of it in the seam!
If you add a little tab for a key ring, place that at the top of the card assembly, lined up with the top pocket.
Stitch at 1/8" along both long sides to hold the card pockets in place.
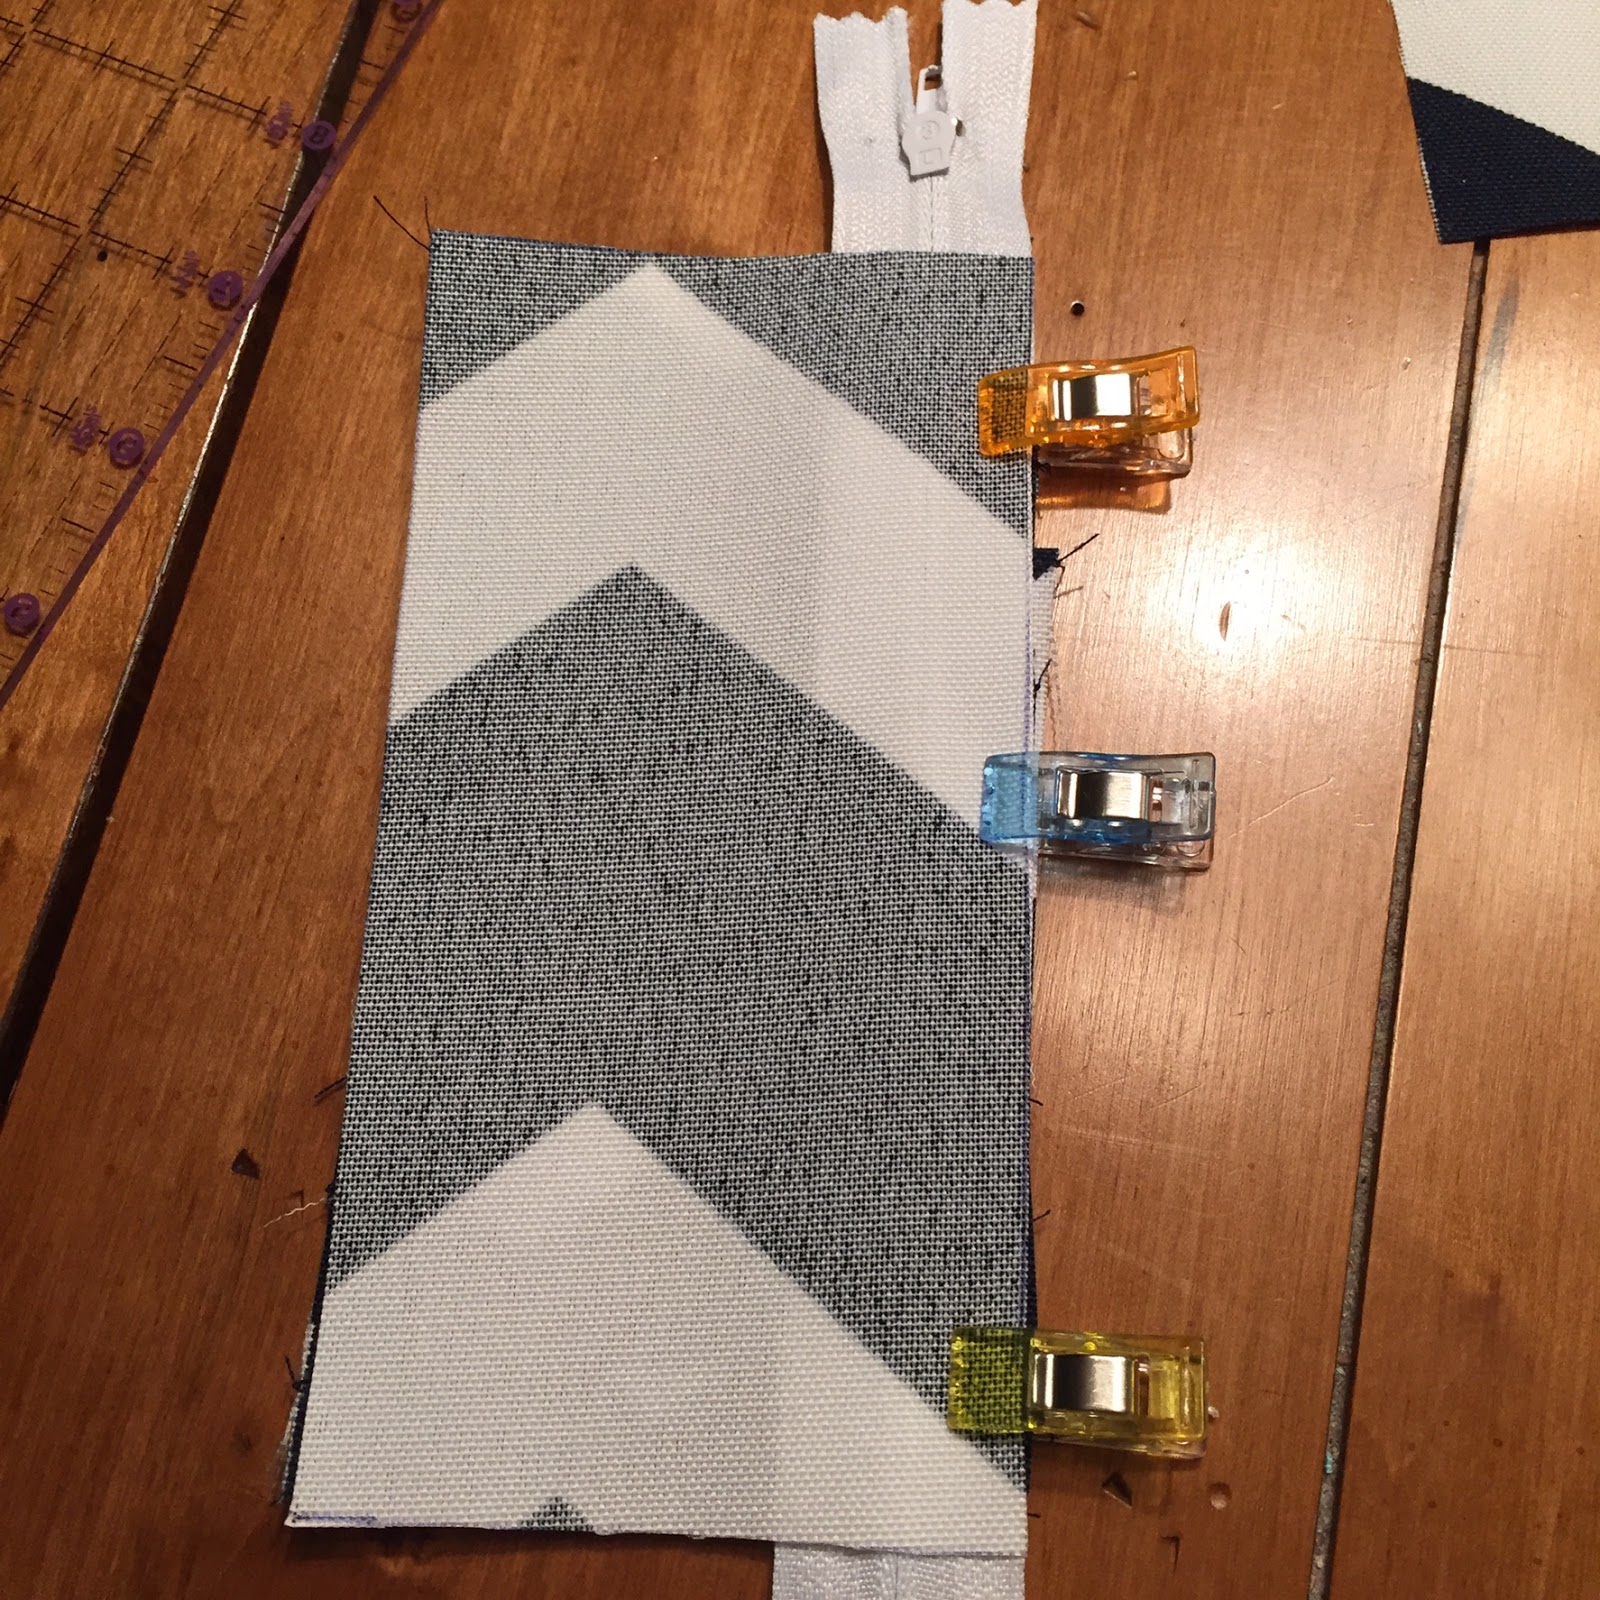
Attach Zipper
With your card pocket piece right side up, line up your zipper face down and overlay with one of the lining pieces. Stitch at 1/8" to secure the zipper.

Turn those pieces back from the zipper and repeat the same with the second lining and outer piece.
Close Pouch
Fold the assembly with the exterior pieces right sides together and the lining pieces right sides together. Ensure the zipper is folded in towards the lining and that the zipper is open!! Stitch at 1/4" around the outside and leave a gap open in the bottom lining.

Trim the corners and any excess zipper to reduce bulk and turn that bad boy out. On the lining, fold in the open seam and stitch at 1/8" to close it up.
Press (don't iron the vinyl!) and enjoy!