

Materials
Front/Back Pieces - Outer Fabric (2): 14" x 9"
Front/Back Pieces - Liner Fabric (2): 14" x 9"
Front/Back Pieces - Accent Fabric (2): 14" x 4"
Side Panels - Outer Fabric (2): 4" x 9"
Side Panels - Liner Fabric (2): 4" x 9"
Side Panels - Accent Fabric (2): 4" x 4"
Bottom Piece - Outer Fabric or Accent (1): 14" x 4"
Bottom Piece - Liner Fabric (1): 14" x 4"
Flap - Outer Fabric (1): 14" x 10"
Flap - Liner Fabric (1): 14" x 10"
Inner Pocket (1): 15" x 6.5"
Snap Straps (2): 4" x 8"
All seam allowances are 1/2"
Other Items
Strap Hardware as desired, I used two 1.5" D rings with snap hooks for the side straps and a 1" side closure buckle for the flap. You could use velcro or some other fastener on the flap if you like.Nylon webbing for strap - I used 1.5" accented strapping. I used 1" plain black nylon webbing for the buckle connectors. Or you can make your own out of fabric.
Rivets - I mostly used rivets on this one because I forgot to sew in the strap tabs when I should have, so rivets to the rescue!
Snaps - If you measure correctly, you can get away with 2 sets.
Pellon 71F Interfacing to give the body structure - used on the outer fabric only on the front/back/sides. Did not need on the bottom since I used a pretty heavy pleather vinyl.
Fusible Fleece interfacing for the flap and snap straps.
1/2" Bias Tape (1 package is more than enough, or make your own).
Assemble Liner
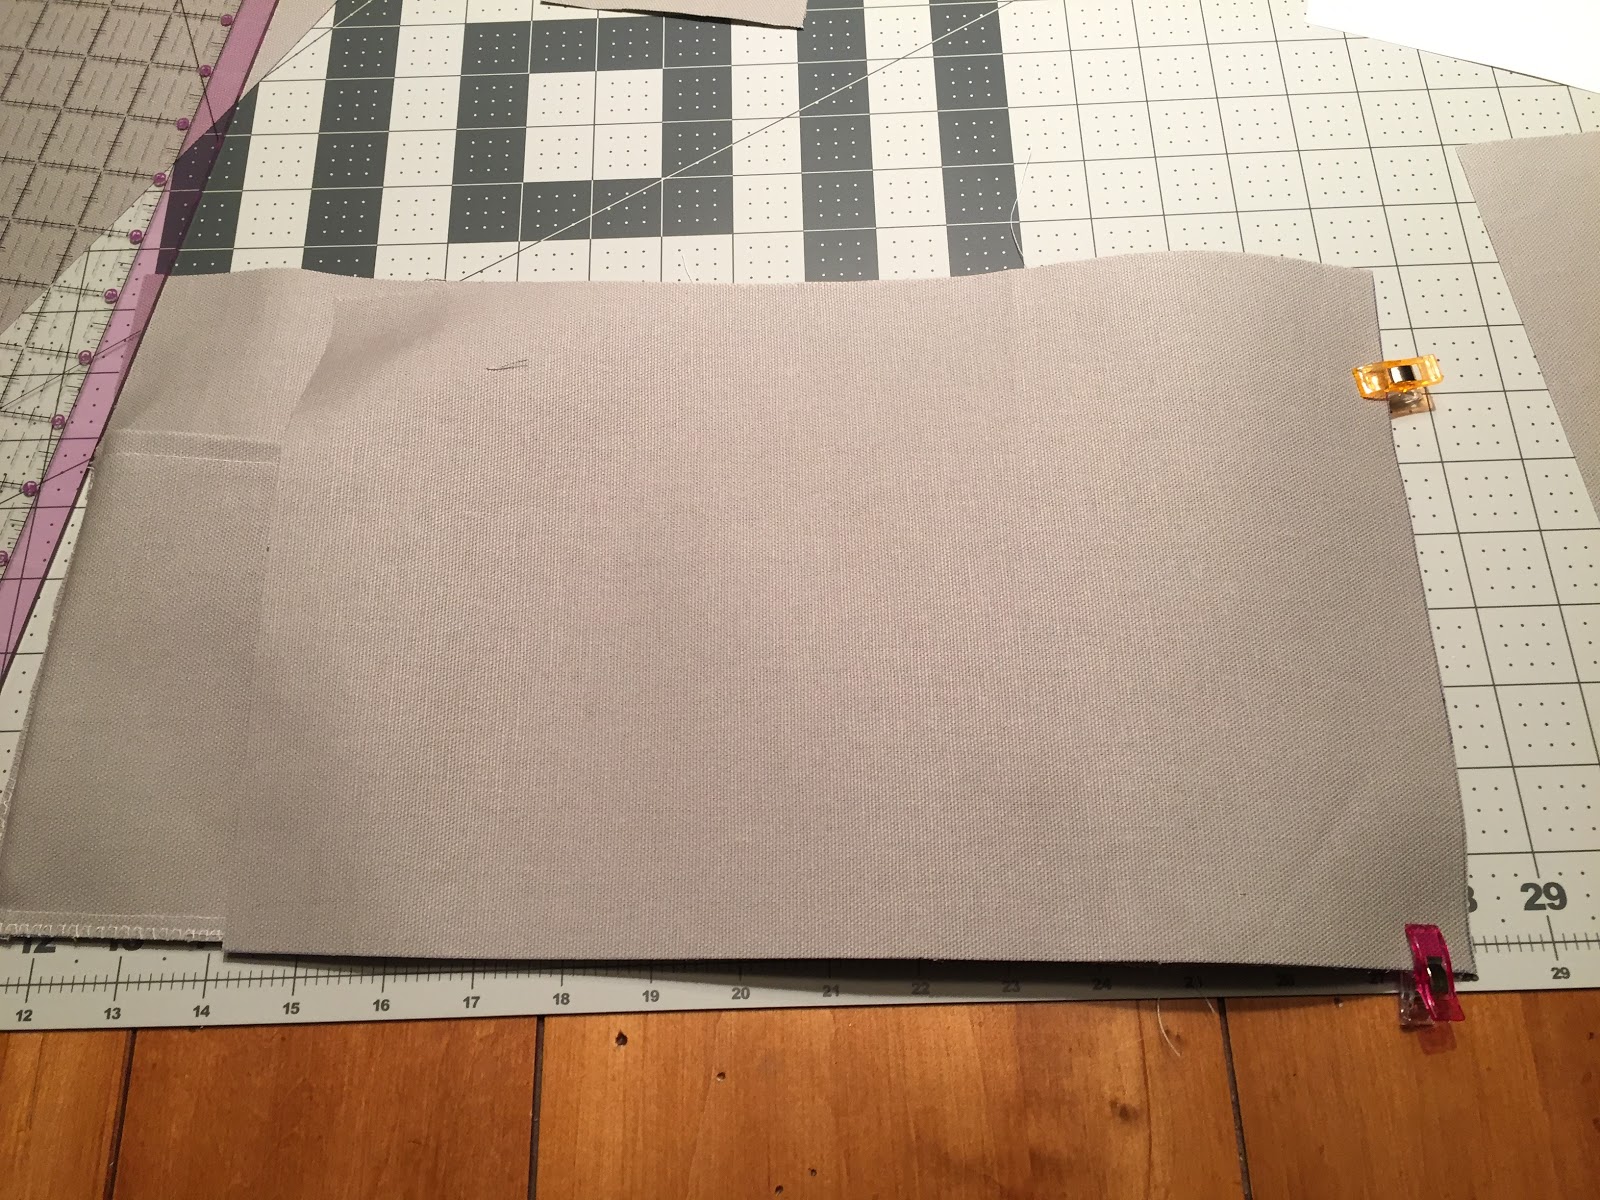
Easy stuff first. Take one of your liner front/back panels and the inner pocket piece. On the inner pocket piece, fold the long side over 1/2" to create a hem and topstitch across.
Lay it on top of one of the front/back pieces and baste to one of the sides. I added 1" to the length of the pocket piece so that I could account for space (depth) for things to go into the pockets like my phone and other stuff. I put my phone in between to figure out the right size (allowing a little extra) and then marked the vertical line with painter's tape. Starting at the top of the pocket, I sewed along that line.

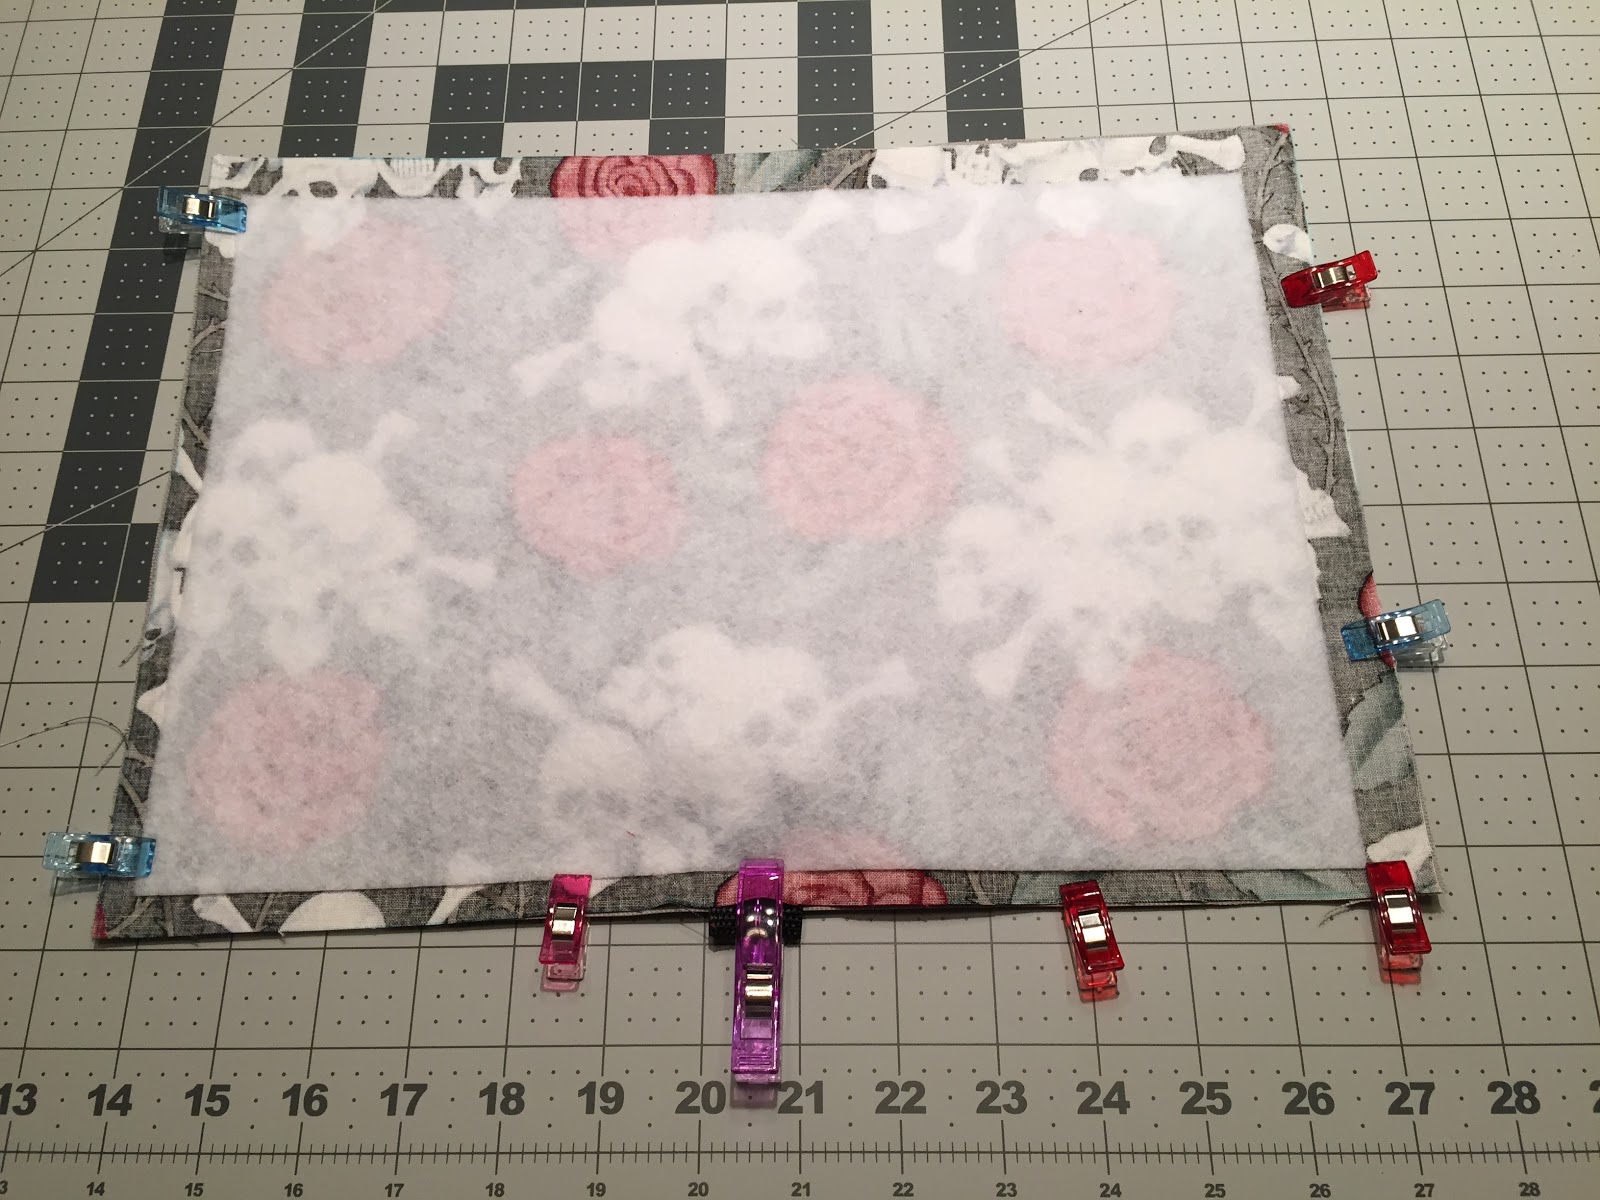
If you want, you can create other dividers - I really just wanted one for the phone and then another one for my snacks. So after creating the phone pocket, I created very small pleats on the other pocket so that the pocket piece wound up flush with the side of the panel piece.

Stitch the pocket to the panel along the remaining side and bottom to hold in place.
Since you have that assembled piece handy, place that face up and grab one of the side pieces. If your fabric has a right/wrong side, line them up right sides together making sure to match up the bottom and the side. Stitch along the side.

Open that up so your side piece is now right side up. Get the other front/back panel and place that right side together with the side piece, lining up the bottom and raw side of what you've already assembled. Stitch along the side.
Open that up so your front/back piece is right side up, get the other side piece and do the same thing - right sides together, line up the bottom/raw edges, stitch together along the side.

Now you should have all pieces strung together. Last part is to fold it together so your last 2 remaining raw edges are right sides together and line 'er up and stitch it closed. When you're done, now you have a box.


I used canvas for my lining, which frays quite a bit, so I overcast all the seams. It adds a little bulk but since you can't see it, it was fine with me. Just takes a little extra maneuvering when stuffing the liner into the bag.
Next, find that bottom lining piece. If you put the pocket piece in here, make sure that the pocket openings are facing up, and away from the bottom. Last thing you need is pockets that are facing the wrong way. And though I'm a master seam ripper, it's easier to do it right the first time.
Start with one of the edges - doesn't matter which. Make sure your bottom piece is right side together with whichever piece you start with and stitch it together starting at one of the seams. When you reach the other seam, stop (don't go over the seam). Backstitch at both ends.

Next, turn the bag so you move to the next side. You should be able to line up the bottom piece with the next side so the edges touch. On the starting side, start at the edge (so you're going through the seam you just stopped at) and stitch up to the next seam and stop.

Repeat until you have the bottom fully attached. Again, I went back and overcast all these seams.

The liner is now done, so set it aside. Time to work on the outer.
Outer Piece Preparation
Cut your interfacing pieces (I recommend Pellon 71F one-sided fusible) 1" shorter than the outer piece dimensions (so you leave 1/2" on all sides that is un-interfaced). Fuse the Pellon 71F to each of the outer pieces (front, back and both sides).If you do an accent fabric like I did, now is the time to get those pieces attached to your outer pieces. I used pleather vinyl. I lined up the sides and bottom of each piece and topstitched with contrasting thread to secure the accent to the outer pieces.
Don't assemble the bag just yet, there's other work to do.
Create Snap Straps
These are optional - they are what I used to secure the bag to my walker (or you could adapt this for a stroller, bicycle, etc, just not a unicycle).Get the snap strap pieces and fusible fleece. Fuse the fleece to one half side (wrong side) of the snap straps, leaving room for seam allowances.
Fold the piece right sides together and stitch to close, leaving a 3" gap along the long edge for turning.
Clip the corners and turn out.
Fold the gap edges in and topstitch all around to close.
Determine where you want your snaps to go. I used a snap plier tool to set the snaps. When the strap is open, the "male" end with the nub should be at the top and you want the "female" receiver end to be at the bottom. Because the snap straps are folding onto themselves, make sure you have the receivers facing the right way.
Mark where you want the straps to be secured to the back of the bag and stitch them on, making a box. Note: in the photo below, I had not yet attached the accent fabric to the bottom.

Create Side Strap Holders
This is where I got carried away and forgot to stop and do this. It's easier to do this before you assemble the bag!I cut pieces of my 1.5" nylon webbing to 4" and inserted the D ring. If you're using nylon webbing, burn the ends slightly to prevent fraying. I stitched close to the D ring to secure and then again at the bottom. Had I been thinking clearly, I would have sewn these onto the side panel at this time.
Create Front Flap
Find your outer flap piece and cut a piece of fusible fleece (again, 1" shorter than the flap piece dimensions to leave a 1/2" seam allowance on all sides). Fuse the fleece to the wrong side of the outer flap piece.Get your liner flap piece and place right sides together with the outer flap piece.
If you're using a side closure buckle, now is the time to attach it to your nylon webbing. If you're using velcro, I suggest sewing that onto the liner piece only (so you don't see the stitches on the outer piece).
If using a buckle, center it on the bottom of the front flap, buckle "up" in between the outer and liner and pin/clip to hold.
Starting at one side, sew down the side, across the front of the flap (and making sure you catch that nylon for the buckle in the middle), and back up the other side. I also zigzagged to secure the nylon webbing for the buckle as shown below:

Clip the corners and turn it right side out.
Find your back outer piece and put it right sides together with the flap, raw edge of the flap lined up with the top. Stitch together across the top. It should be slightly shorter than your seams, so be sure it's centered on the back piece and not lined up exactly to the side seams.
Note: in the photo below, I clearly had already assembled the bag before I attached the flap, but you benefit from my errors because I'll do everything the hard way first and then tell you what would have been easier!

Assemble Outer Bag
Using the same approach as we did with the liner, start with one of your front/back pieces and one of the side pieces. Place right sides together and line up the bottom and one side, stitch together.Note: because I used pleather vinyl as an accent, I did not backstitch at the ends where the vinyl was and used a longer stitch (4.0). I left the thread tails long on these ends and knotted them off.

Follow the same process as the liner to stitch the front/side/back/side together.

For the bottom, again follow the same approach as the liner. If you are using a buckle for the flap, now is the time to create the bottom buckle and sandwich it in between the front and bottom layers, centered, with the buckle "up" in between the layers. Again, I didn't do this because I was speeding along, so rather than pulling stitches out of vinyl, I moved to Plan B and used rivets instead. If using vinyl accent fabric, beware that this is a lot of layers, so I suggest using a denim needle, as well as a longer stitch length.

Turn the outer bag right side out, taking care to work out all the corners.
Attach Bias Tape
I used Bias Tape to finish the bag. Place the liner inside the outer bag, matching up the raw edges at the top and taking care to really match up the seams neatly. Keep in mind that this bias tape is also going to go through the flap on the back side.
Create Shoulder Strap
I made an adjustable strap using accented nylon webbing. For more info on how to make an adjustable strap with snap clasps, refer to my other tutorial for the Adjustable Strap Bag.Clip on your straps and you're ready to rock!

Inside the bag has room for my iPad, headphones, phone, snacks and anything else I need! And, when I don't need the walker, I can just unsnap it and roll with my tote over the shoulder.


